Pages

Saturday, November 26, 2011

Minnie Skirt


Just a quick post this morning to share a skirt I made for my daughter. I used this tutorial here and some fun polka dot Moda fabric. I'd say it's my favorite skirt I've made yet. My little girl and Mickey loved it too!

Thursday, November 24, 2011

Disney Turkey Shirts


Did I mention my son just turned 2? Booger. :)

Happy Thanksgiving! We are spending our thanksgiving break at Disneyland. Woohoo! I purchased the turkey applique pattern from here last year and added my own Mickey ears hat. Now off to eat some grub...

Saturday, November 19, 2011

Dr. Who


Just a quick post with a Dr. Who banner I made for my buddy James' first birthday party. I was in a rush and didn't get any photos taken before heading out the door but thankfully my dear friend sent me this one. I should have her take all my photos. :) Thanks Tiff!

The Tardis (a.k.a. the phone booth Dr. Who travels in) I pieces together and the bow tie was a must. I wish I would have made a second Tardis for the front but after completing the first one I was spent. I did my best to get every small detail in. The letters are from the Sesame Street Font cartridge.

Happy birthday James!! Thanks for turning one and sharing your big day with me!

Friday, November 18, 2011

Turkey Applique Pattern


I hadn't made my mom and mom-in-law a Thanksgiving pillow cover for last year's Christmas gift (pillows with changeable covers for each holiday). It took me a couple tries but I finally made a Turkey pattern I love. If you love it too go ahead and grab the pattern. Feel free to use the pattern for personal use and to create projects to sell. Just don't copy the pattern and sell it as your own.

Supplies needed-
fabric scraps
scissors
sewing machine
buttons for eyes
needle and thread
fusible webbing (These are the two that I use. You only need one.)
iron/ironing board
(2 pages)

Print the pattern and cut out the pieces. You'll need a total of seven of the back tail feathers. Trace the pattern pieces on to the smooth side of your fusible webbing. Now cut around the pieces you've traced leaving some negative space around each one.


Above is a photo showing the order of placement for each piece. I measured to the middle of my fabric for the top of my pillow and then situated my top tail feather from there. The pillow form shown in the photos is 14 inches square. Follow the directions on the back of your fusible webbing.

I like to sew around each piece which is needed if you use the Pellon wonder under. For the pieces that have the same number that just means I iron them on at the same time and then sew them both down before moving on.


I hope that makes sense and I haven't left anything out. If I have please leave me a comment and I'll get it fixed asap. Happy crafting. :)

Tuesday, November 15, 2011

Winter Hat & Banners


Today I've a couple more banners I made for birthday gifts to share. I also made one for myself and actually finished it. Two thumbs up for me. I'm a pro at starting projects for myself and letting them sit for months and months...

I love Moda's Countdown to Christmas fabrics which I used on these banners. Love it. I purchased a couple charm packs which made two "Merry Christmas" banners, the "Joy" banner, and I still have quite a few squares left over. For the letters I did them with freezer paper (like my Birthday banner) and used Cricut Plantin Schoolbook cartridge.


I also have a new nephew who I crocheted this fun bombers hat for. You can find the PDF pattern here at Maybe Matilda's shop. Sorry, didn't think to get a photo with the cute lil' guy wearing it. Babies always make photos so much more fabulous.

Saturday, November 12, 2011

William's Fishy Party


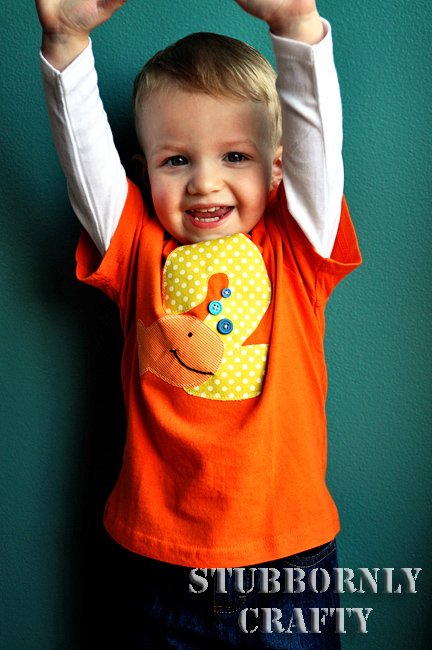
My son turned 2 yesterday. He has a strange obsession with fishing. He's never been real fishing. He's never watched a show on fishing, as far as I know, but he can tell you all about it. Reels, hooks, casting, he knows it all. So we had a fishy party. Here's the invite (posted first on my card site with it's logo).


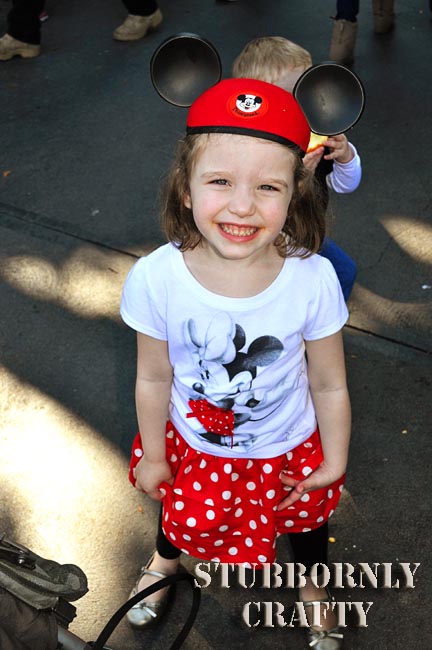
Then we've got the party outfits I whipped up. I just have two kids so I decided to make my daughter a fishy skirt too so she felt included in the fun. And of course my son's shirt is appliqued. I'm an addict.


And then the party table. The party photos turned out terrible. :( Bums me completely out. I made a couple whales, a fishy banner, and some fun jelly fish. My SIL helped me with the fishing poles with sharks and my cousin Sarai made the cupcakes/cupcake stand. Thanks ladies!!


Last of all there are the gift bags for the guests. They have bubbles, goldfish crackers, and some fish shaped beanbags I made out of felt (another post on those to come). The girl's bags have a fish hairclip as well. Happy birthday William!!

Friday, November 11, 2011

Felt Hats

I'm so stinking excited about this next project. A while ago I came across this hat tutorial from Fleece Fun! They looked so cute, so I pinned it and decided to make a couple of hats for friends and family as Christmas presents. I adore the way they turned out!! I did alter the pattern and made a cute spotted dog hat, which I love!!


If you have some time go and check out fleece fun! She has tons of free patterns and tutorials, it's ridiculous!! :)

Monday, November 7, 2011

Turkey Wreath


I just had to share this adorable wreath. Kira Dee and I are Facebook (and real life friends) with a cool chick named Aubrey. She was inspired to make this adorable turkey day wreath after seeing Kira's Witch-tastic Halloween wreath. I love, love, love Aubrey's turkey wreath so I asked if I could share it with you. Thank you Aubrey for the thumbs up! I'd craft with you anytime! :)